
Hello World REST Service
In the Linx REST plugin are two services that you can use to build REST API's. SimpleRESTHost (for most API's) and RESTHost (for advanced API's)
Building a REST API with SimpleRESTHost
- Open the Linx Designer and click Create Solution.
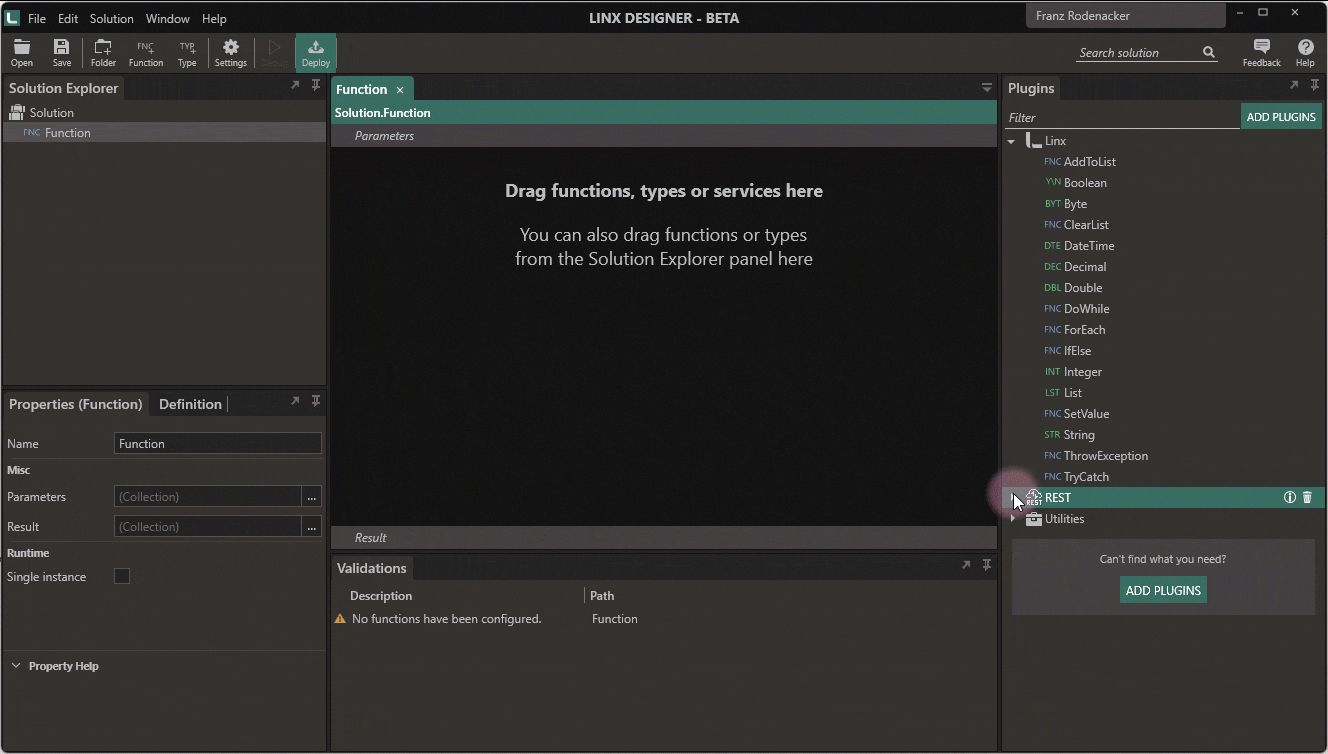
- Click the Add Plugins button on the right to open the plugins popup.
- In the Plugins popup, find the REST plugin in the list and click ADD (the initial download might take a moment). When the download is done, close the plugins popup.
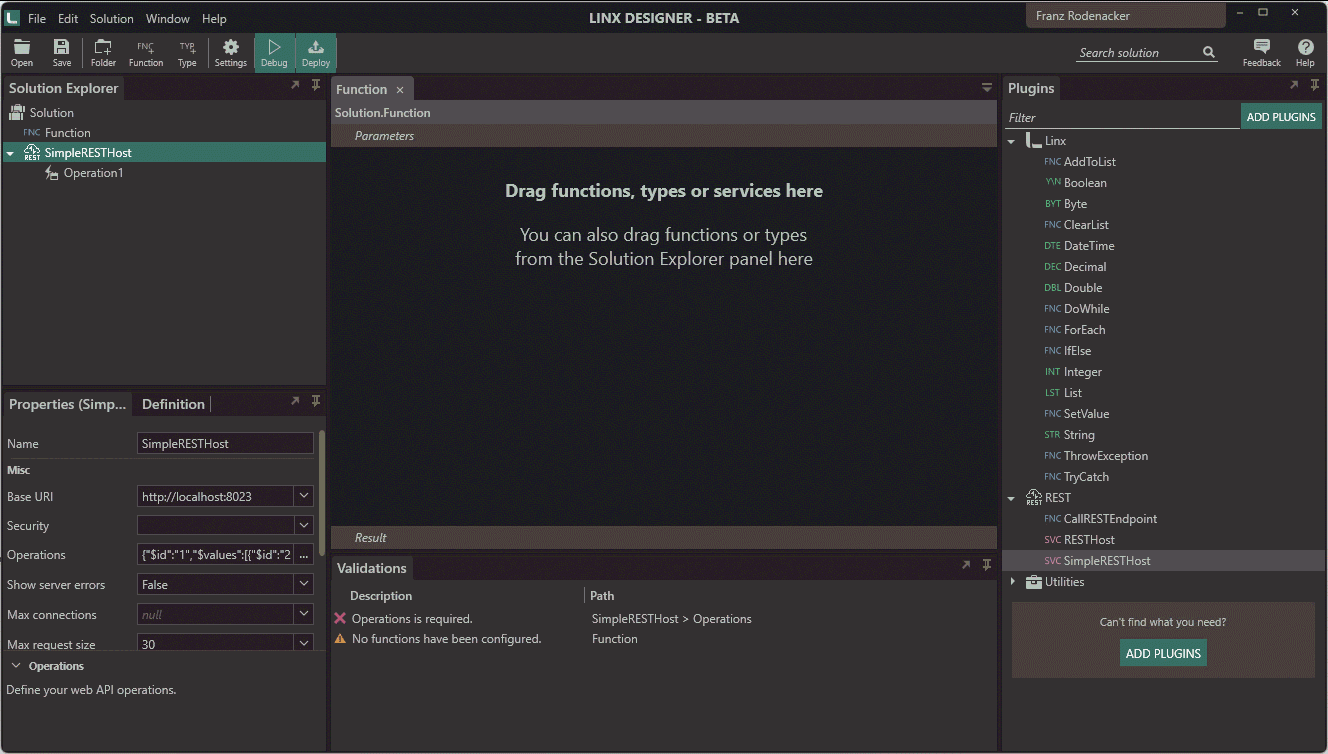
- Locate the REST plugin in the plugins panel. Find the SimpleRESTHost Service (it has a purple SVC prefix) and drag it into the Solution Explorer panel in the top left of your Designer.
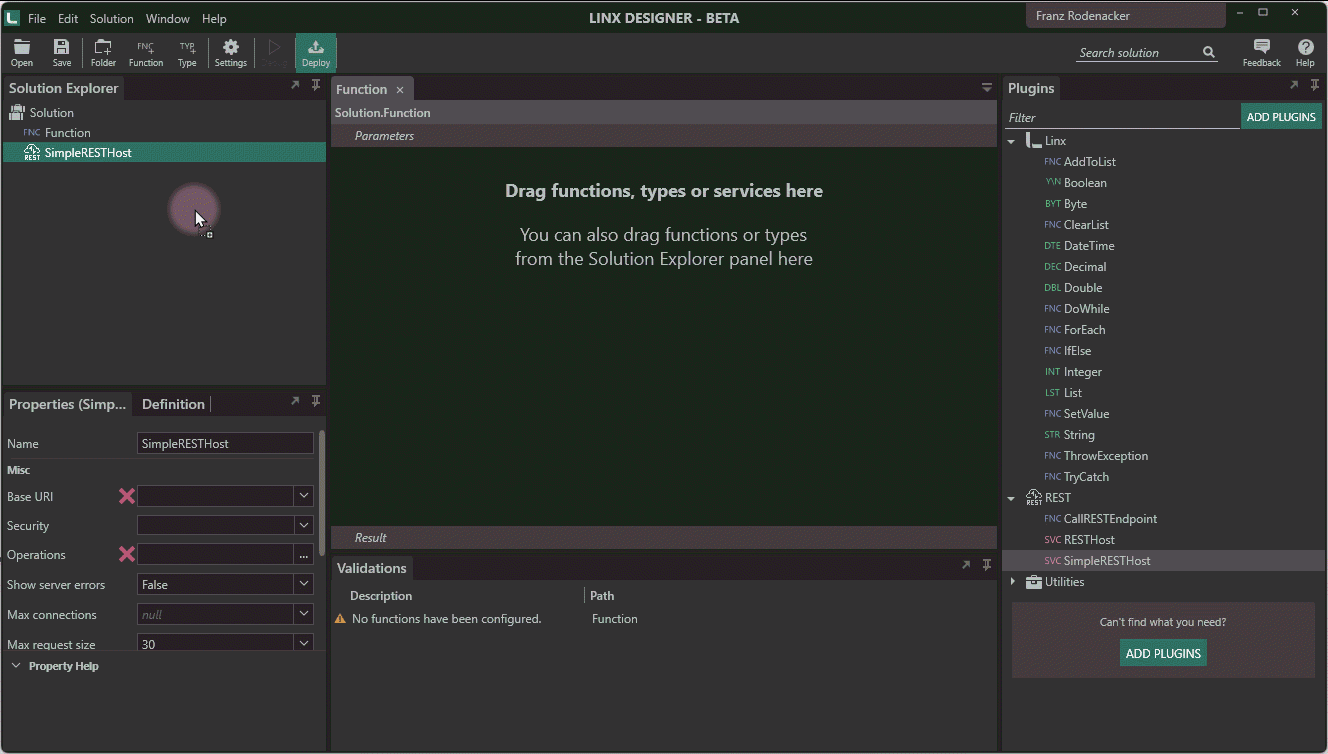
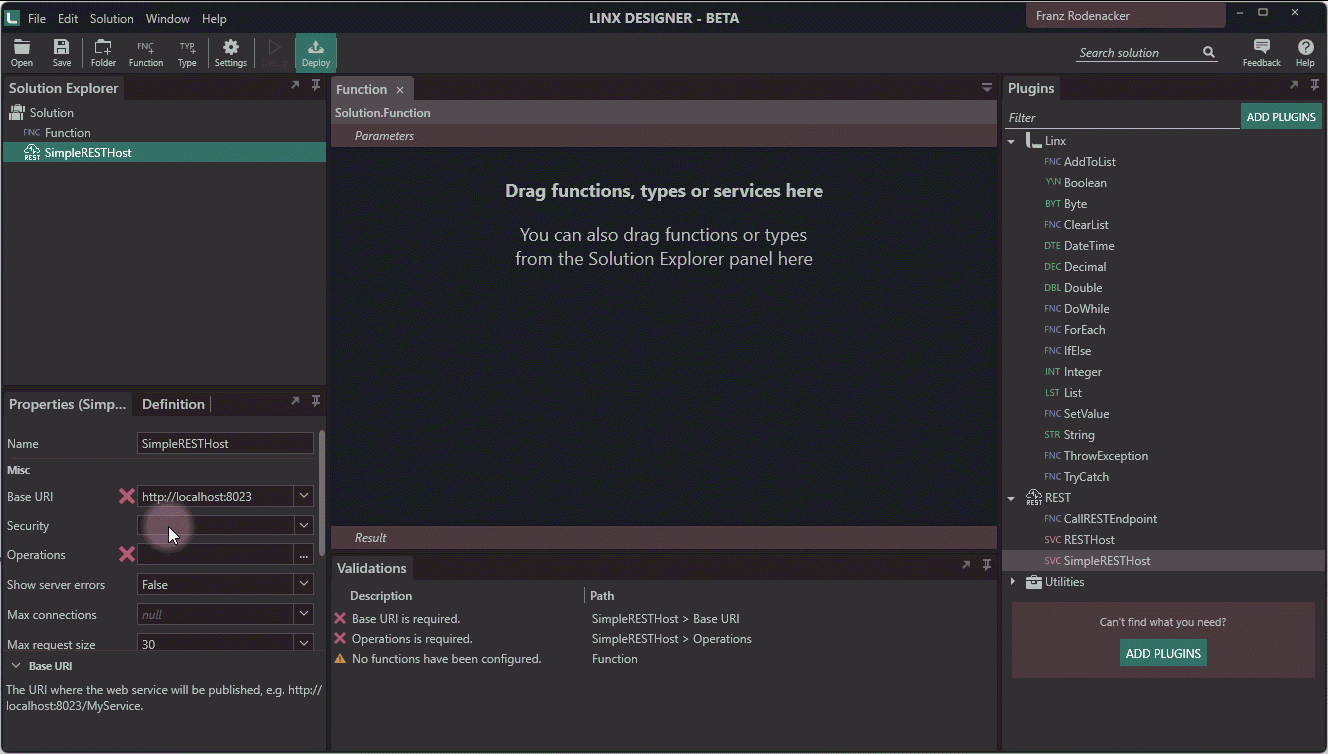
- Select the SimpleRESTHost in the Solution Explorer panel and locate the Base URI property in the Properties panel in the bottom left of the Designer and enter this value into property http://localhost:8023
- Locate the Operations property of the SimpleRESTHost and click the … button in the field to open the Operations Editor to add API end points.
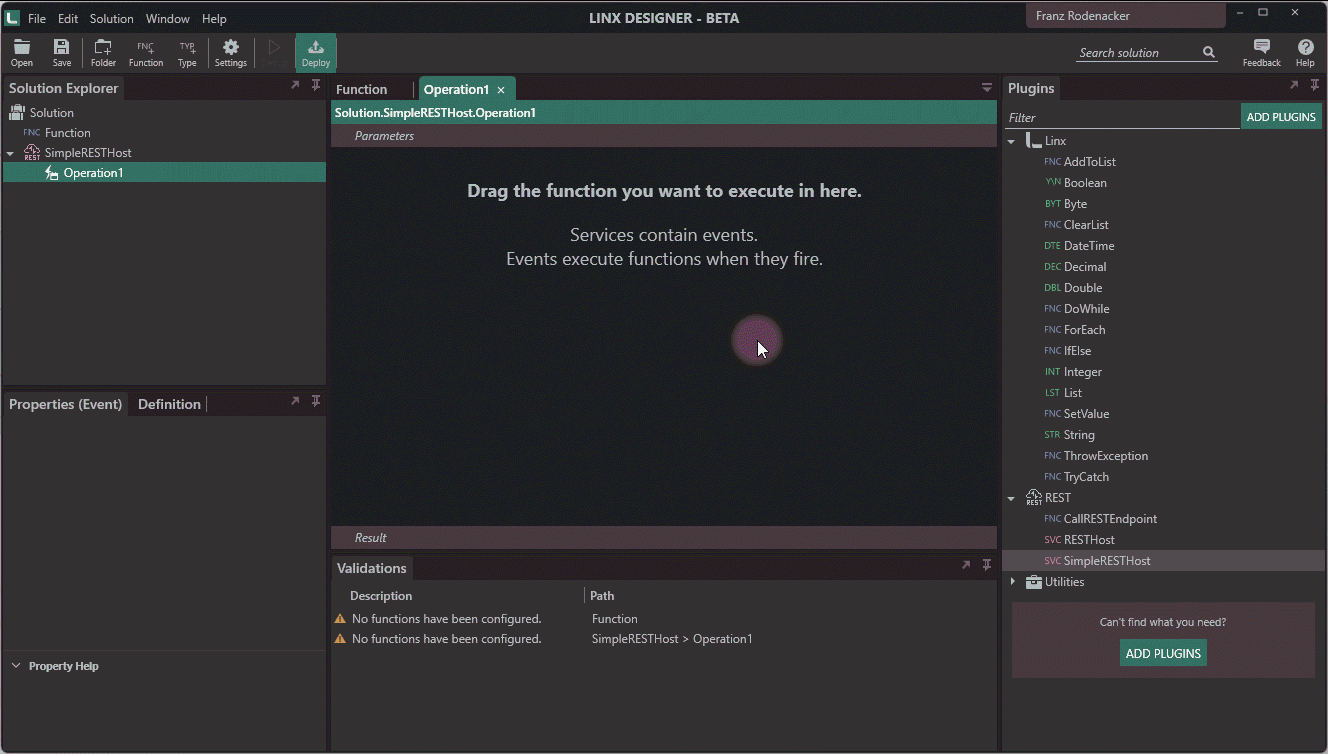
- By default Linx adds an operation called Operation1. Locate the Path property for Operation1 in the Operations popup.
- Enter /hello (a forward slash followed by the word hello) into the property and save the Operations Editor popup.
- In the Solution Explorer, locate the SimpleRESTHost service and its endpoint called Operation1. Click on Operation1 to open it as a tab in the center of the Designer.
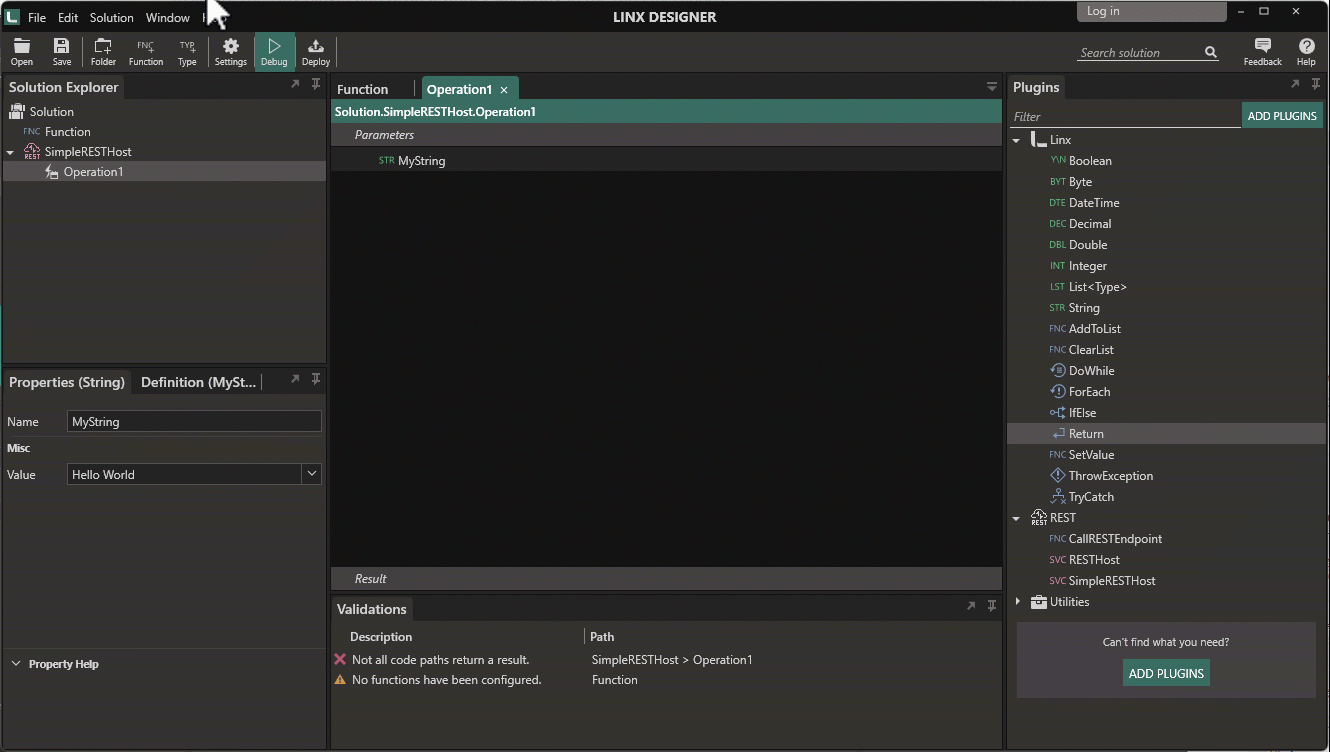
- In the plugins panel on the right of the Designer, locate an item called String (it has a green STR prefix) inside of the Linx plugin and drag it into the tab called Operation1.
- In the properties panel in the bottom left of the designer, locate the property called Name and change the value from String to MyString.
- Locate another property of MyString called Value and enter Hello World.
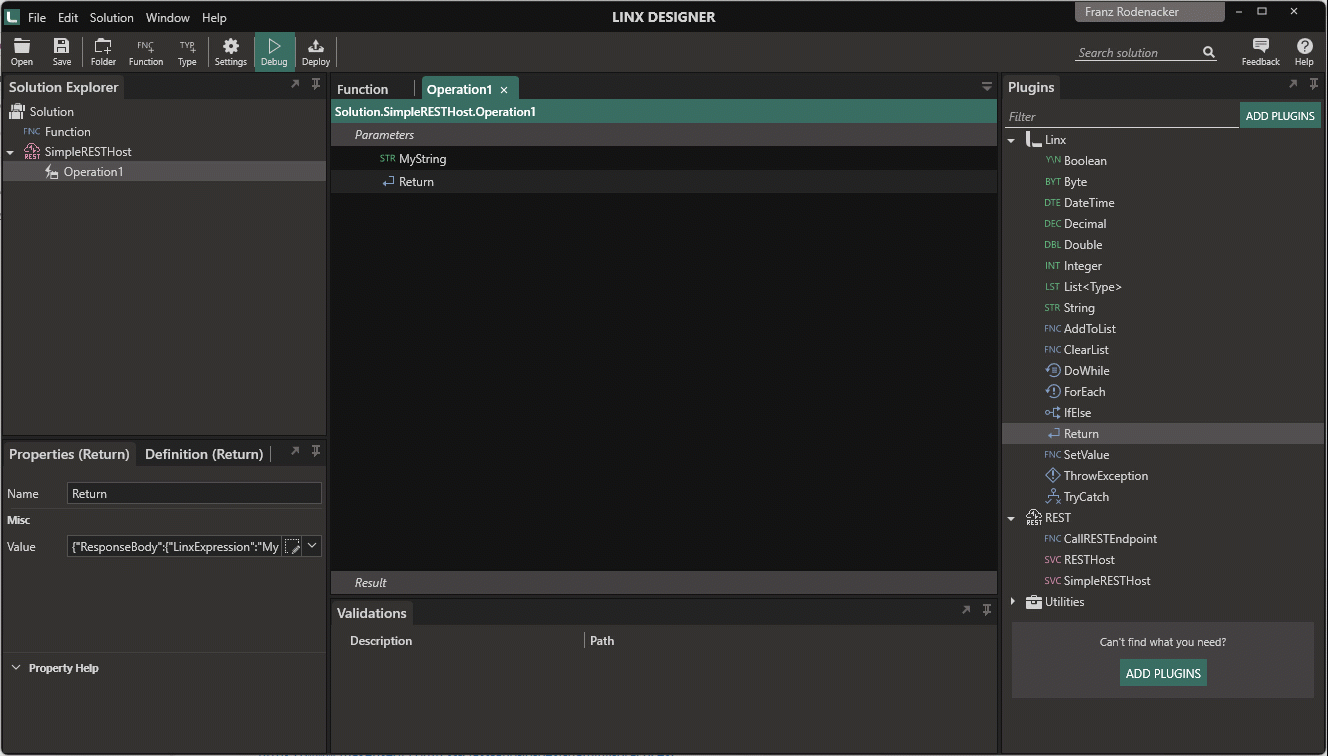
- In the plugins panel on the right of the Designer, locate a function called Return (it has a blue FNC prefix) inside of the Linx plugin and drop it under MyString in the tab Operation1.
- Select the Return function and locate the property called value in the properties panel in the bottom left of the designer.
- Open the drop-down of the property and select the Values Editor to launch the Values Editor popup (or click the square edit icon in the property).
- Find the ResponseBody property in the Values Editor popup, open the drop-down and select MyString. The save the editor.
- Right-click on the SimpleRESTHost in the Solution Explorer and select an item called Debug to place the Designer into Debug mode.
- In the Debug Output panel at the bottom of the Designer, wait for a message that says Ready to debug. Click START to start debugging. When you see it, click the Start button in the top left of the Designer.
- Now browse to this link http://localhost:8023/hello and you should see the string value (“Hello World”) in the browser. /hello causes the SimpleRESTHost to fire the Operation1 event handler which then runs the logic it contains and returns the ResponseBody.
How it works
When you browse to the link (http://localhost:8023/hello), the SimpleRESTHost service fires the event for the path /hello called Operation1.
Linx first instantiates the String and then assigns the String value to the ResponseBody property of Operation1.
Operation1 then returns the ResponseBody together with a few other bits of information to the caller.
Challenge
If you had fun building this solution in Linx, why not extend it a bit further? Instead of returning a static string
- change the String value to Hello [your name] and debug the service again
- use the CallRESTService function from the REST plugin to call another REST service and assign the ResponseBody property to the ResponseBody property of Operation1
- use the TextFileRead function from the File plugin to read the contents of a text file and assign it to the ResponseBody property
- use the ExecuteSQL function from the Database plugin to connect to a database on your machine and select some data from a database table to display
Links
- Check out our samples repo on Github and find out what else you can build with linx
- Comprehensive REST Guide
- Linx community posts about REST