Making sure that notifications, reports, and other messages are promptly delivered to the right people is a frequent – and important – job for IT teams. Even if there are 100s of emails that must be dispatched with slight differences in the content or added reports, it is sensible to automate the procedure of creating and sending out these emails.
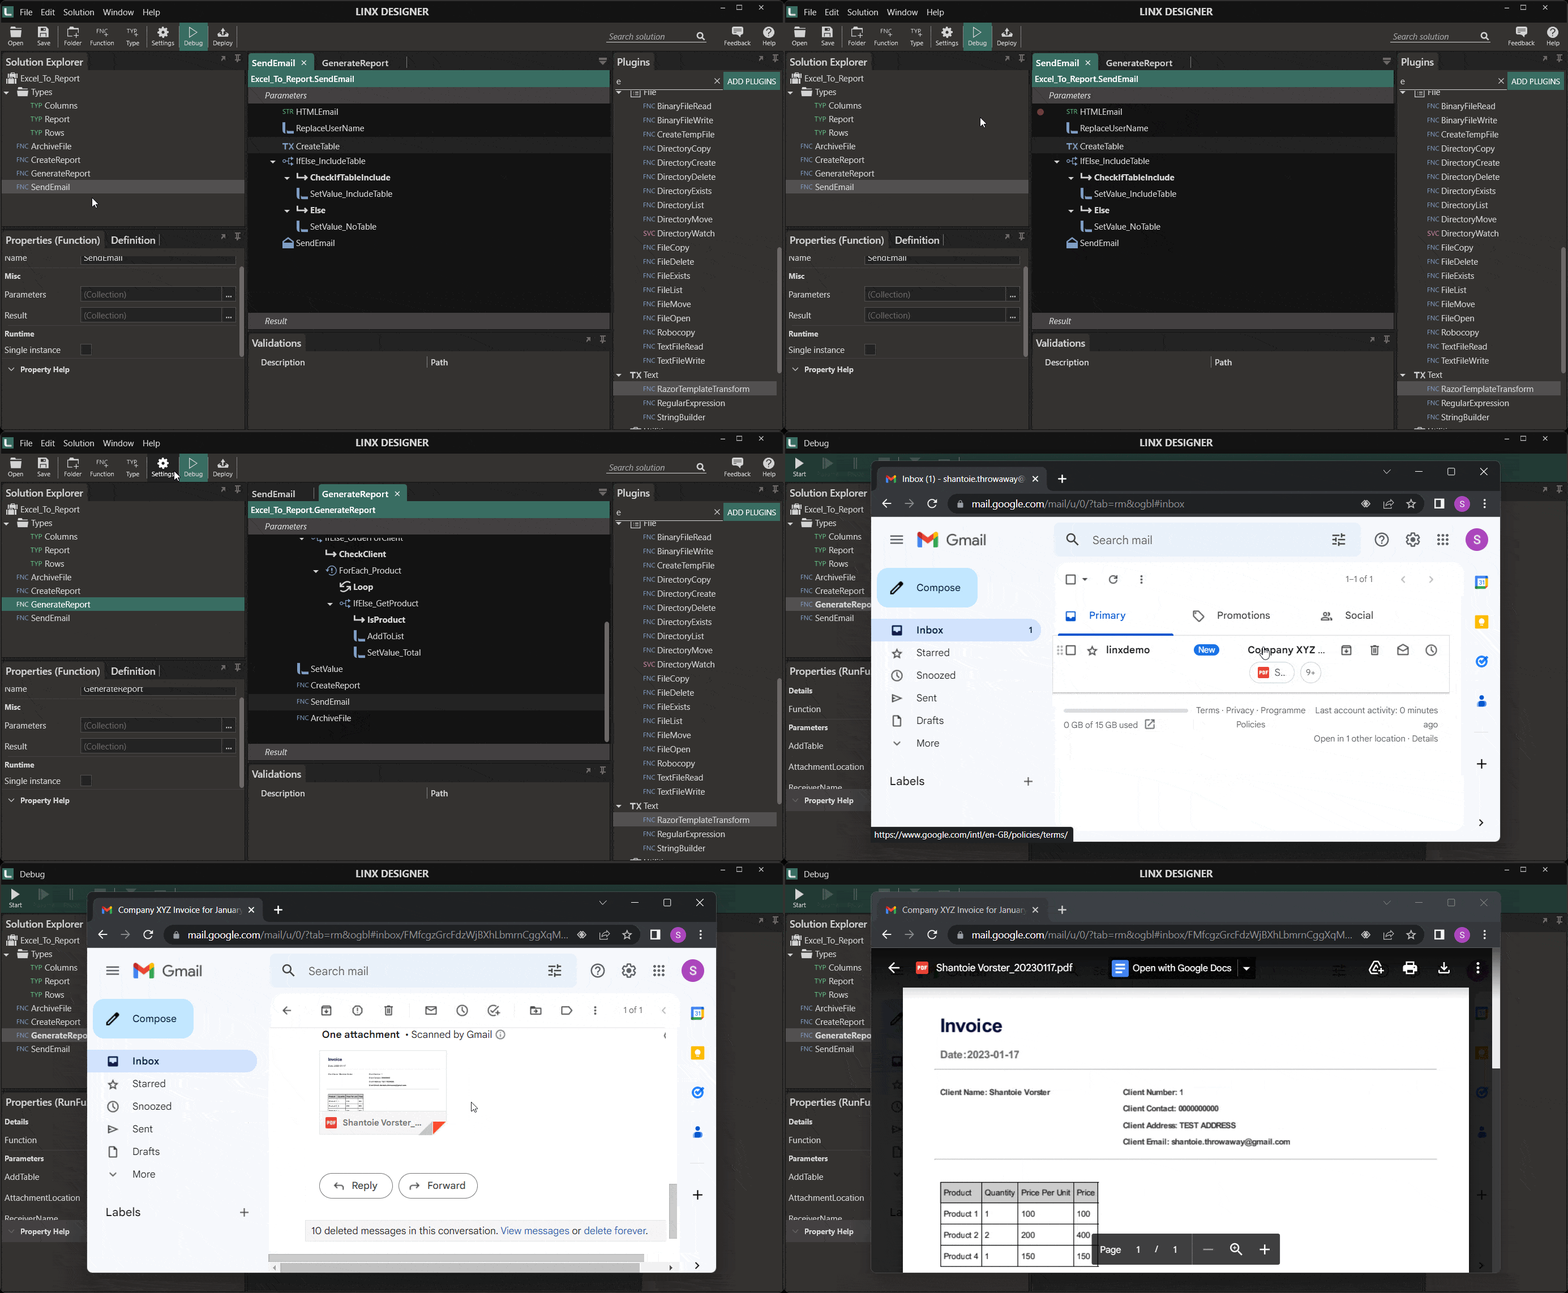
Linx can simplify this process, speed up the creation process, and make it easier to host this kind of solution. For example, you may generate an Excel report that needs to be sent to a specific group of users.
Sending an email
The Linx Email plugin sends emails using SMTP. The Send Email component allows you to specify your mail server details and credentials, the recipient (including CC and BCC), the subject and message body, and any attachments you want to send.
To set up the email to be sent, you must configure a few settings:
Mailbox Credentials and settings
These settings will include actual mailbox credentials (Username, Password, From email address) and the SMTP server configuration (SMTP server and port).
Receiver Details
You can add details such as the receiver’s email address and CC and BCC email addresses. These values can be completely dynamic as you can retrieve the email addresses from an outside source such as a file (Excel, text etc.), database or even an API. You can loop through the retrieved results and email each email address in the list you retrieved.
This works well when paired with custom logic, such as IF-Else statements, to add specific details for specific recipients. For example, all users must get a standard communication; however, if a person has had a birthday, you could add a custom section to the email.
Message Content
Here you will add the actual content of the email, such as the subject, message body, and attachments. The message body can be either Text or HTML.
When you choose HTML, you can create elaborate and nicely formatted emails. These values can also be pre-configured, meaning you can build up your text or HTML string in a function and then set that created string to be your message body. This works well when you have a template where you need to replace a few bookmarks, such as the person’s name and other important information.
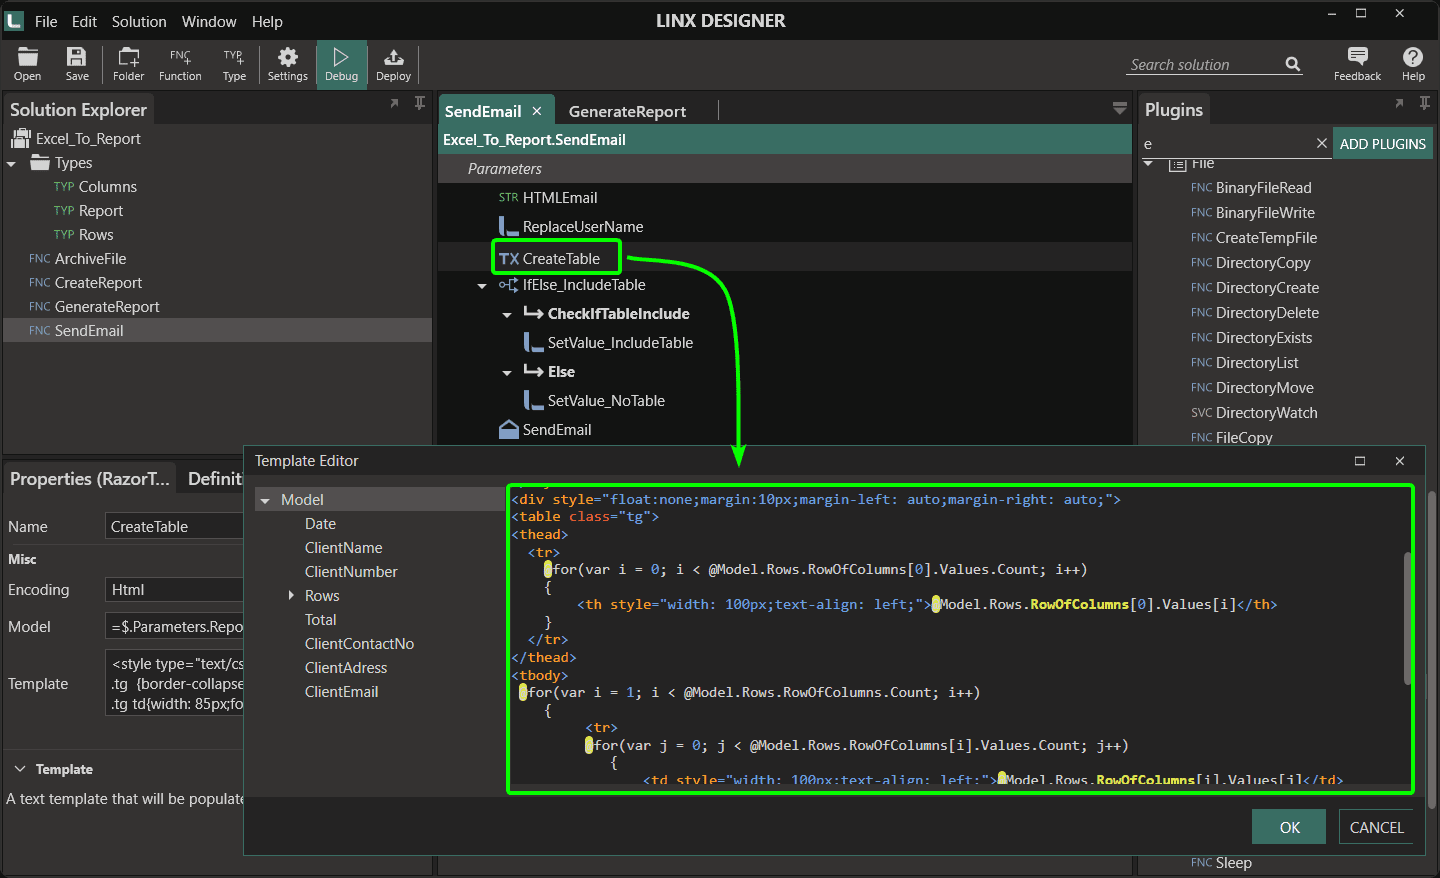
You can also use a Razor template and add details with the Razor Template Transform function. This allows for even more customisation.


Automating email sending
The next step is to automate and orchestrate email sending. Depending on the individual’s need, the emails will be sent daily, monthly, or on a specific date.
Some common use cases include:
- Sending reports at the beginning or end of each month or day
- An appointment reminder to be sent to clients
- Sending invoices as soon as an order is placed
You can send an email as part of your process or set up a schedule for sending. Linx has a Timer service, which allows you to kick off events and functions at a specific interval or at a particular time.
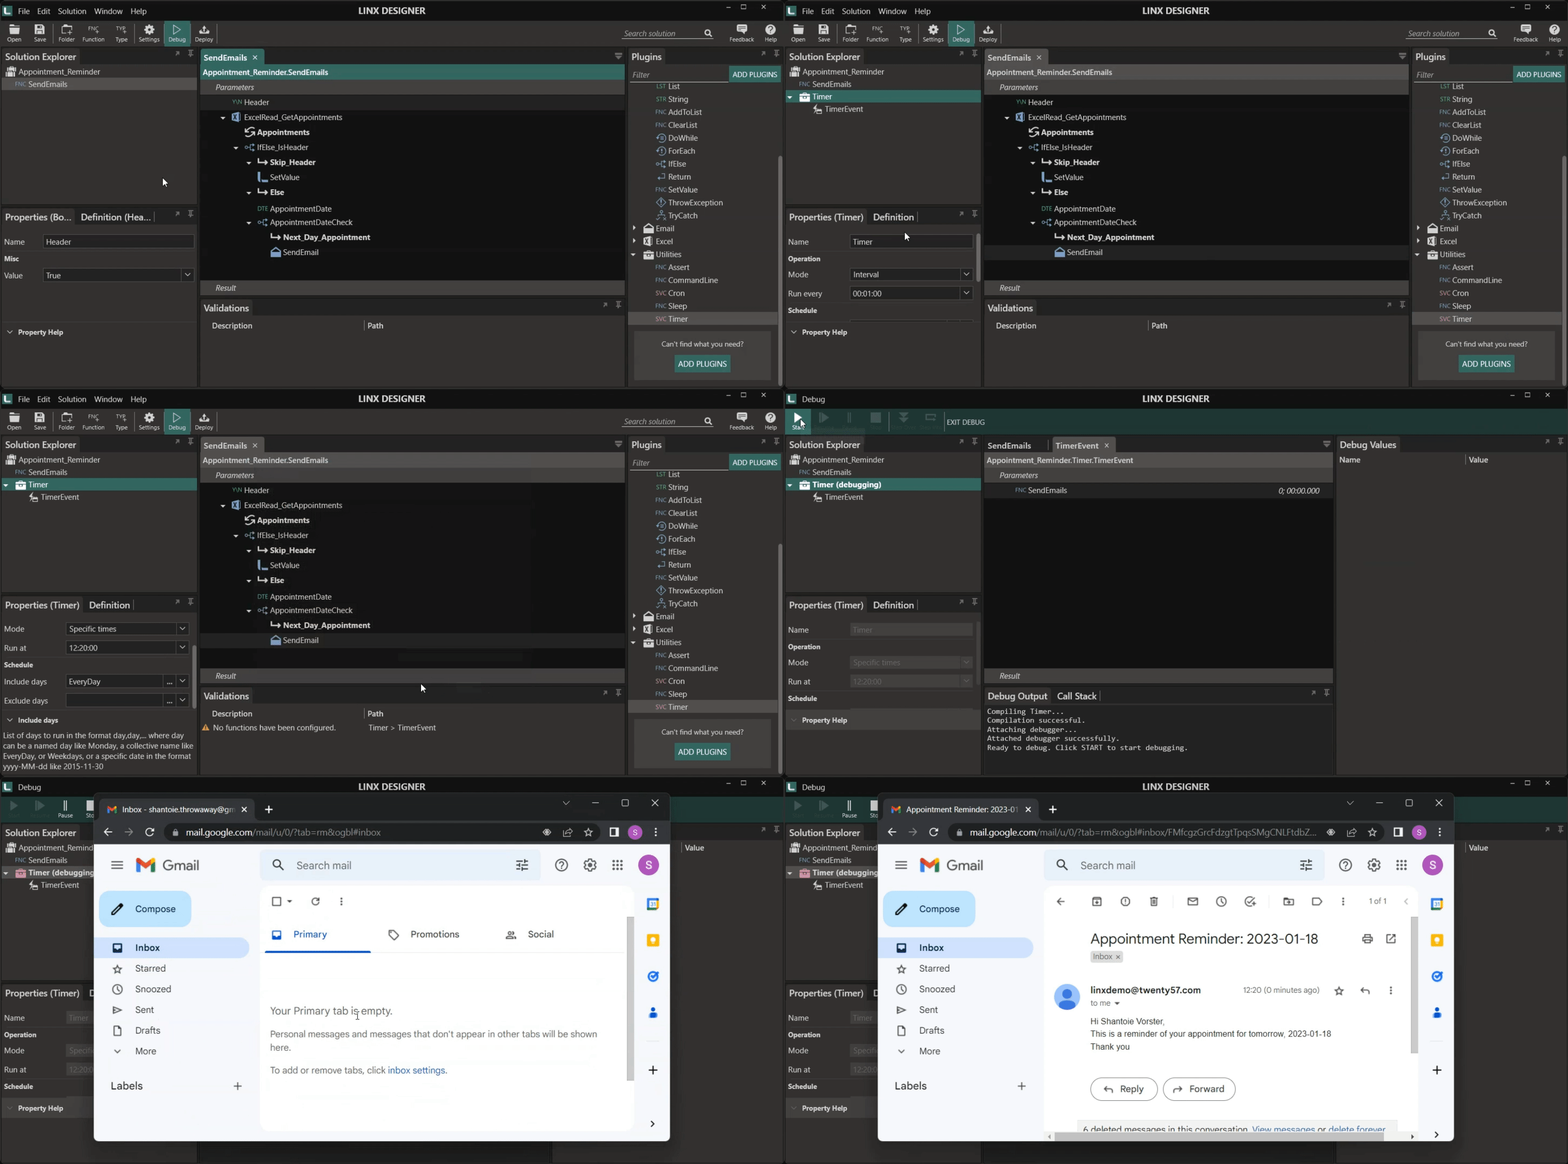
The below gif shows a process that will remind a person of their appointment the day before. The process must run every day at 4 PM.

